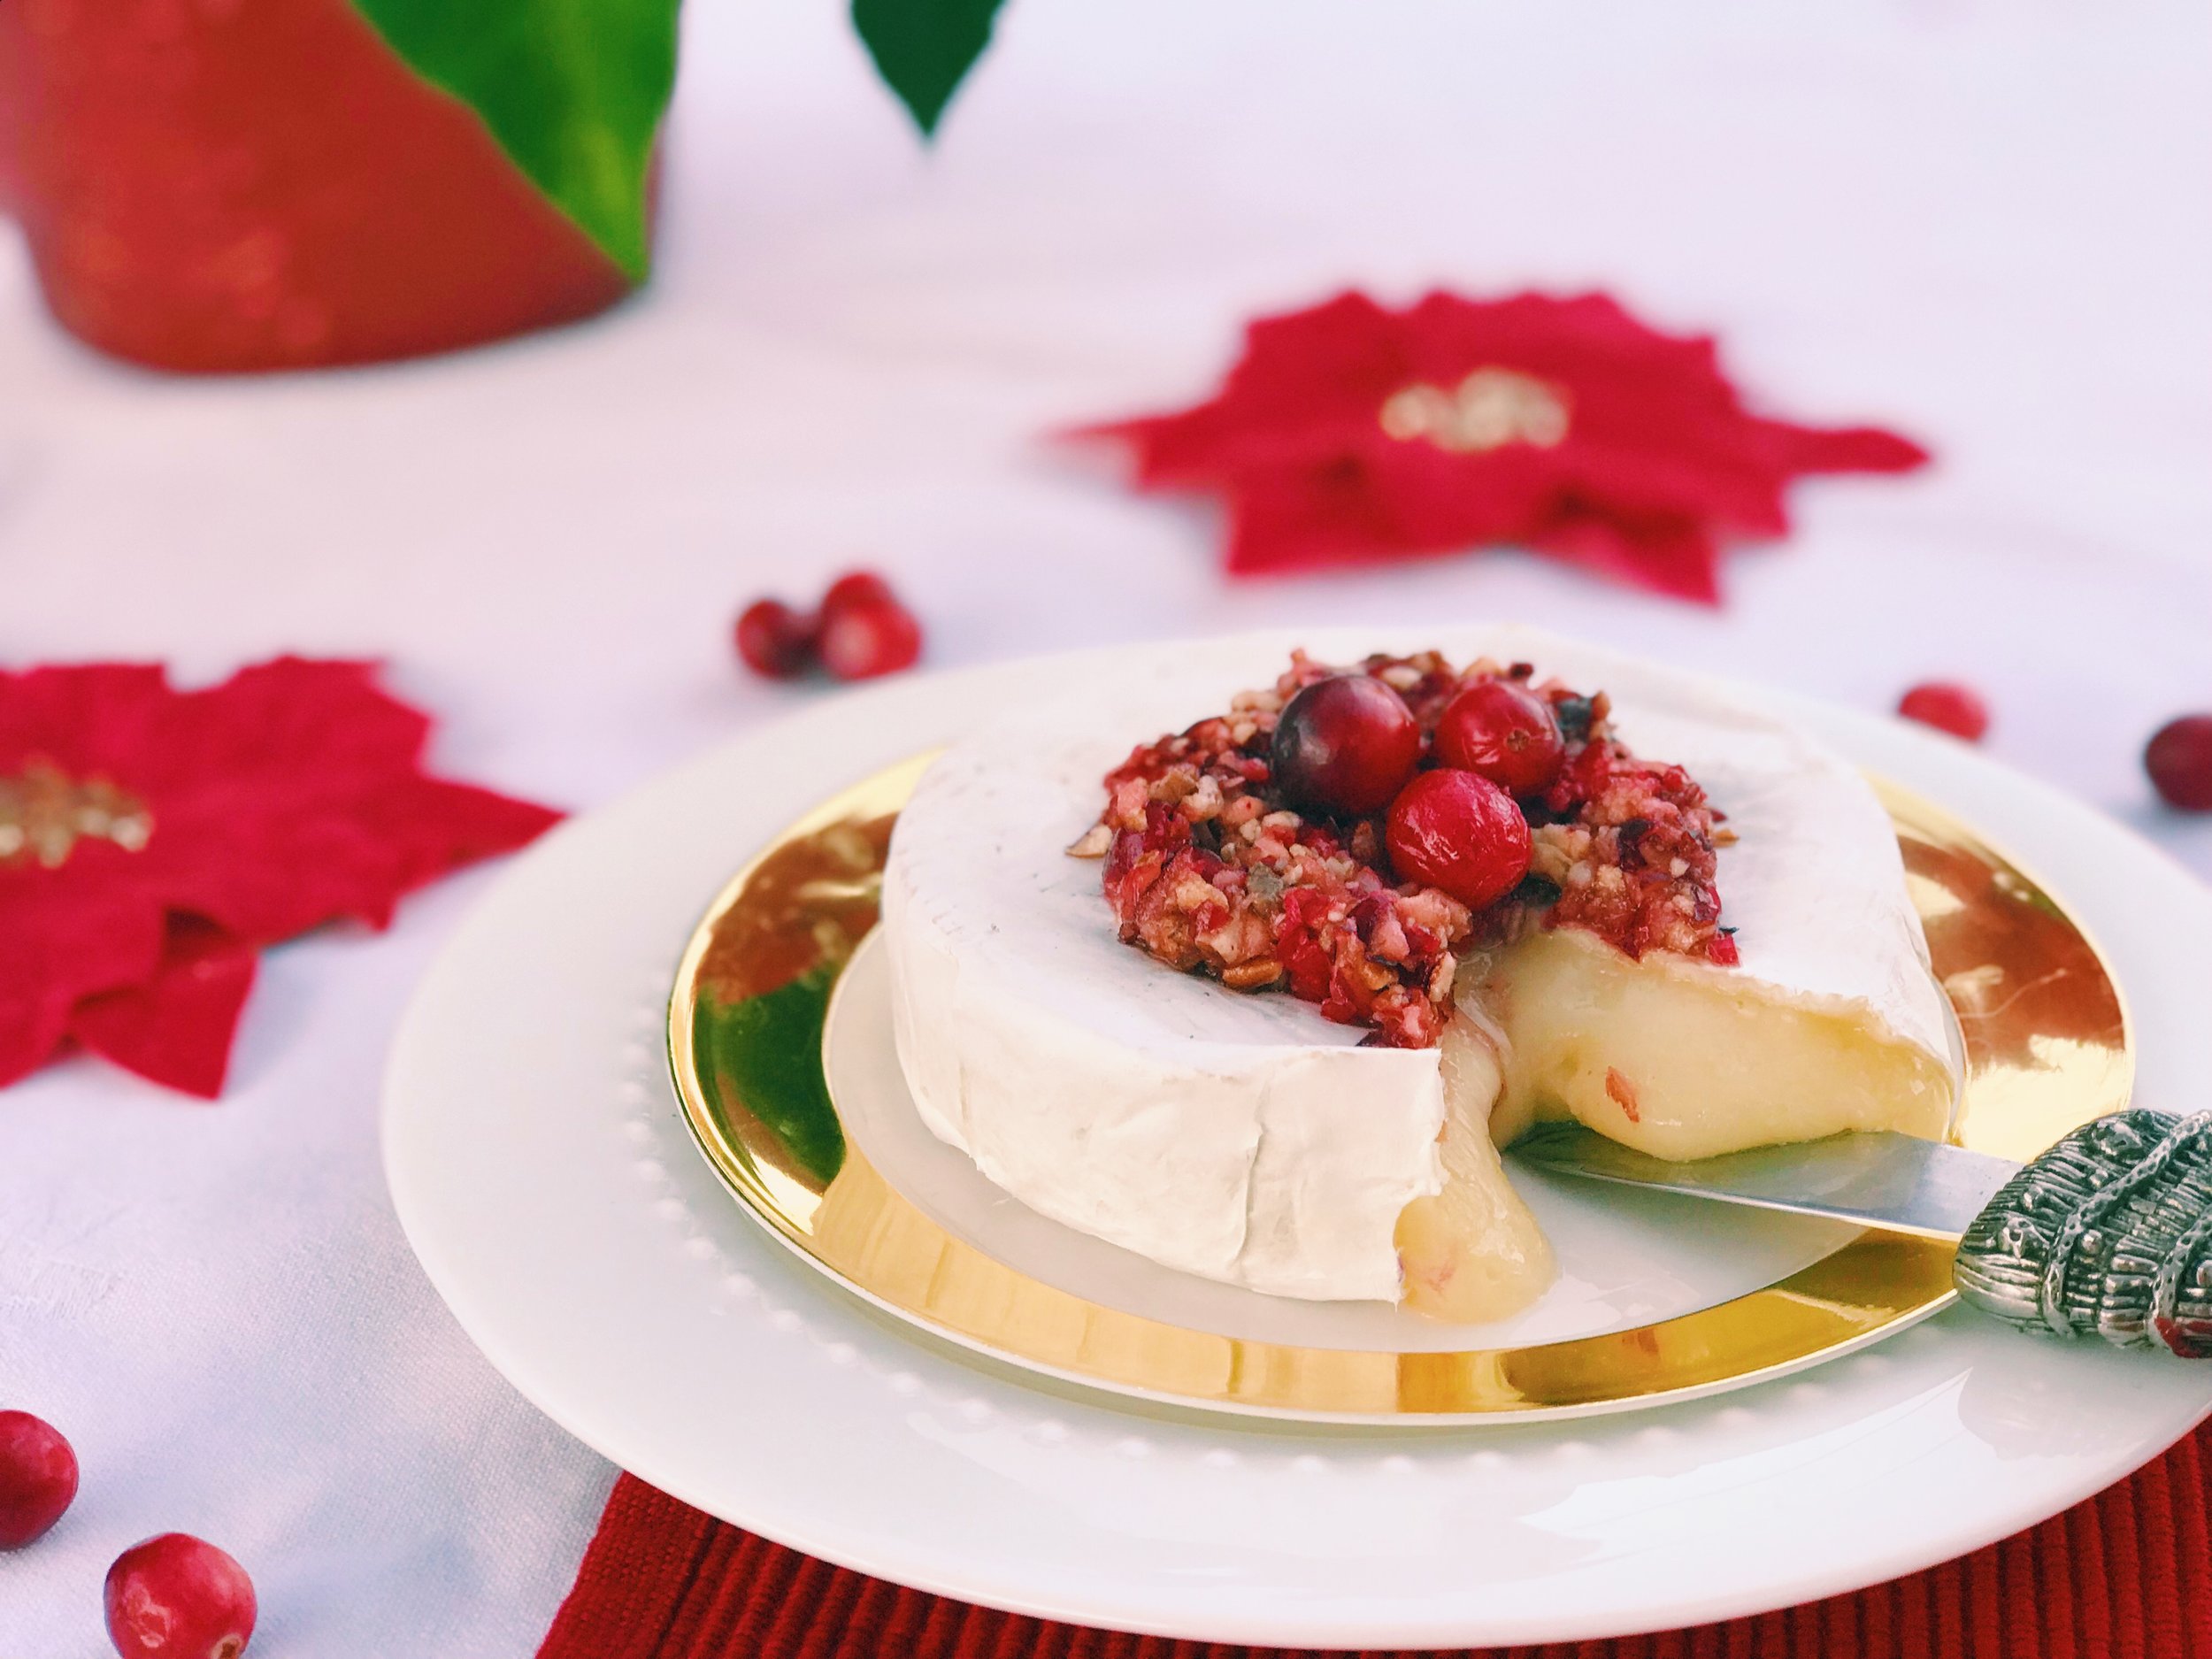
Cranberries and Brie
The holidays come with the need for lots of tasty food, and sometimes we need inspiration. This Cranberry and Brie Appetizer is not only delectable, but it's red! How festive! (And who doesn't worship Brie?)
I got the idea for this marvelous relish from Judy Strobolakos of Southern California. The only difference is that she adds a whole naval orange to the mix. She uses it on everything from cheese & crackers to turkey sandwiches. Here's what you'll need:
1/2 bag of fresh cranberries
1/2 cup of chopped pecans
1/2 cup of white (or brown sugar)
A round or wedge of Brie
All you do is put the cranberries, pecans and sugar in a food processor and pulse very lightly so that the mixture is blended but still very chunky. You then cover the top of the brie with the cranberry relish and melt brie in a microwave just until it is hot but not too runny (2o to 40 seconds depending on the microwave). Serve with crackers. Totally addictive! Good luck trying to tear yourself away from this one!
Looking Back:
Cream cheese and hot pepper jelly, totally tasty! Every year at Christmas we had this classic, colorful appetizer, and you probably did too. It's still just as delicious and fun! Check out last Christmas' post: Christmas Memories.
Elegant but Easy
My very first job was wrapping Christmas presents at a little boutique that sold beautiful glass ornaments. (I don't think I broke anything, but maybe I blocked it out.) Anyway I loved wrapping gorgeous packages and have loved it ever since! Here is a simple, but elegant way to make bows so that your presents will look that much more special. (Of course, you probably don't want to wrap socks in a package like this.)
Here's what you'll need:
A wired ribbon about 2 & 2/3 yards for large boxes, 2 & 1/3 yards for medium boxes and 1 & 1/2 yards for smaller boxes. (Better to have too much instead of too little.)
One or two pieces of wired ribbon (depending on whether you are doing a single or double bow), about 1 & 2/3 yards for larger bows and 1 & 1/2 yards for smaller bows. (I like the ribbons made of cloth.)
A measuring device such as a tape measure
A sharp pair of scissors
Scotch tape
Half of a pipe cleaner or very stiff wire about 5 inches long
Step 1 Take a wrapped present and measure a ribbon so that it goes around the box twice with about a foot and a few inches extra.
Step 2. Cut the ribbon and tie it around the box crossing the ribbon at the bottom of the box. You then cross the tails of the ribbon on top instead of completely knotting them and tape them down.
Step 3. Take the second piece of ribbon. (See measurements above.) You then make 3 to 4 loops on each side. For larger bows you want each loop to measure about 3 &1/2 inches when flattened, for medium bows 3 inches and for smaller bows 2&1/2 inches.
Step 4. Take 1/2 of a pipe cleaner or 5 inches of wire and twist it tightly around the middle of the bow.
Step 5. Tie the bow tightly on top of the box using the tails from the other ribbon.
Step 6. Using sharp scissors cut the end of each tail in a straight line then fold the ends of the ribbon and cut a V. Voila, you have a beautiful present!
Finishing touch
Almost all wreaths need the finishing touch of a bow. Bows for wreaths are made much the same as the bows above for presents except you need just one piece of ribbon instead of 2. You'll need about 2 yards & 8 inches for medium sized bows and about 3 yards for large bows. (I like the look and feel of wired ribbon that is made more of a soft cloth.)
Step 1. Take a ribbon with the measurements above. You then start with a 6 to 8 inch tail and above that begin forming loops just like you did with the bows above.
Step 2. Once you have 3 to 4 loops on each side, tie the center with a thick wire or full pipe cleaner.
Step 3. Fluff the bow by pulling the loops apart, then attach the bow to the wreath. (See second one below.)
Wreath Makeover
Many of us aren't creative visionaries in the sense that we come up with ideas in a vacuum. Creativity can also be about taking one thing and making it better. I bought the wreath below (left) at Michael's for $20 and all I did was remove the green, add a few more berries and a bow! Voila, a whole new wreath which I, at least, think is much better!
Fun Saying
I was at my office this past week and saw that one of my fellow therapists put this up in our hallway. I just had to share it!


